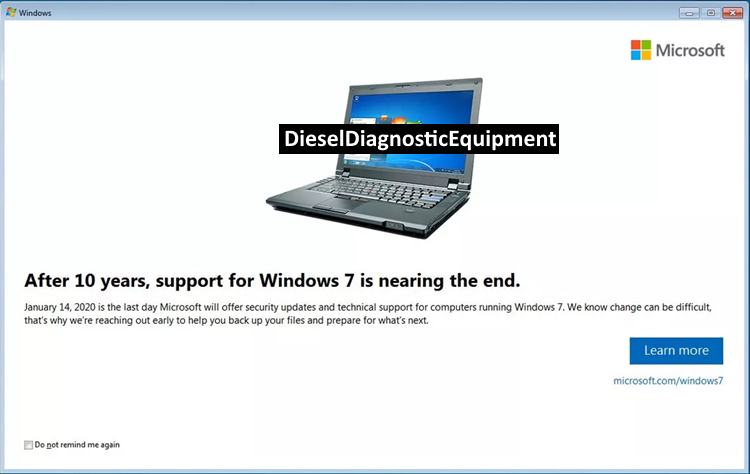
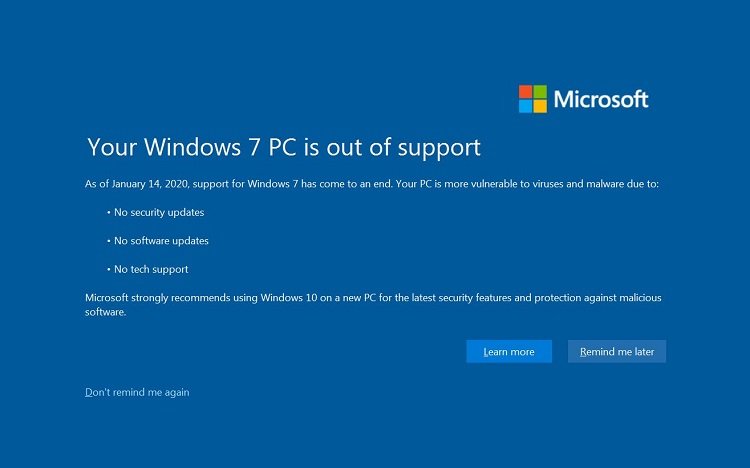
Support for Microsoft’s Windows 7 operating system officially ended on January 14, 2020 diesel repair shops/fleets across the country are starting to feel the effects.
With that said, a growing number of folks in the diesel repair industry are suddenly realizing they need to upgrade, and fast.
You can read more about that in our previous blog post:
Why You Need to Ditch Windows 7
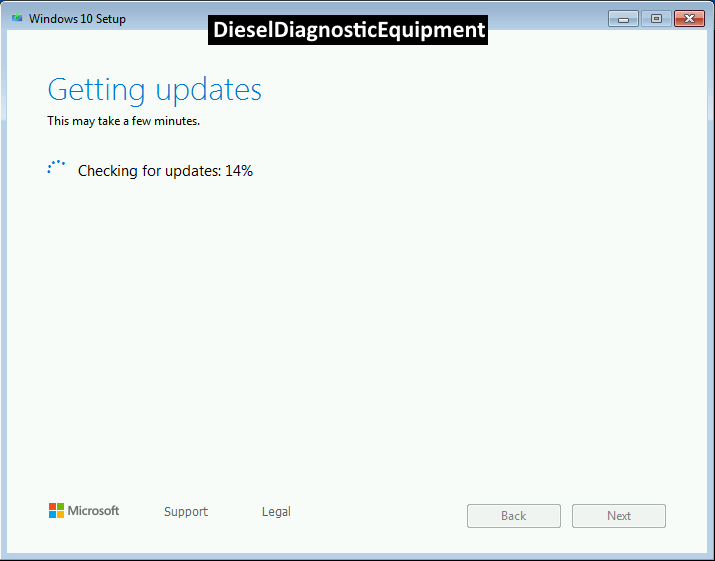
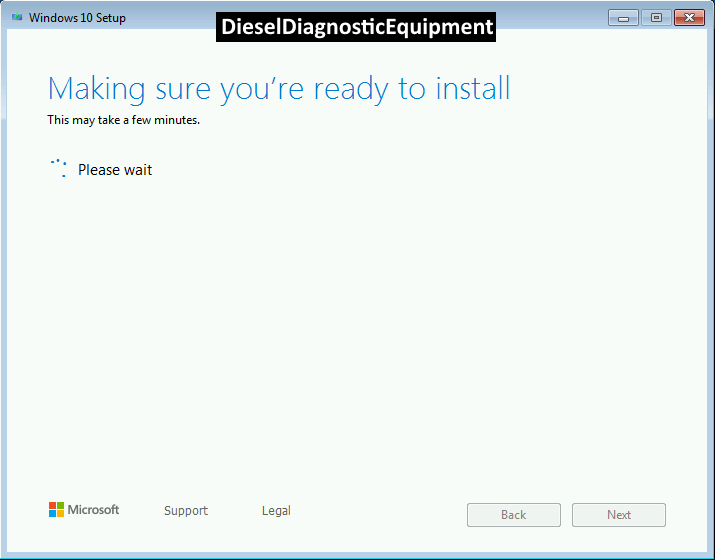
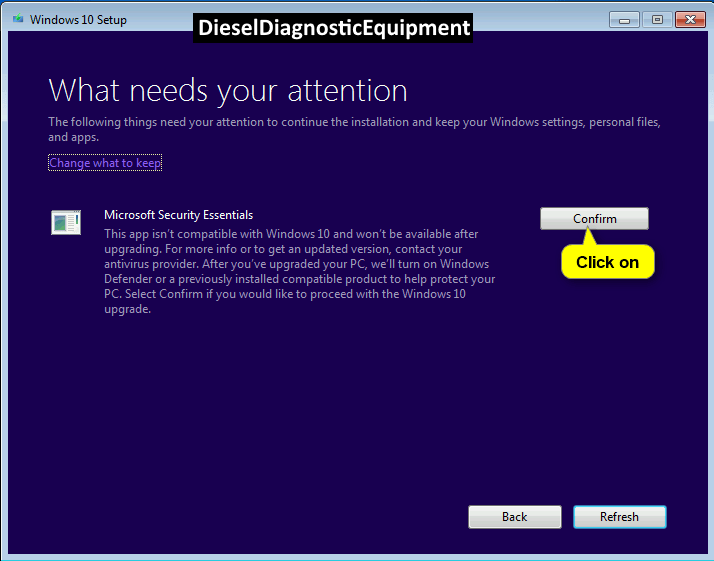
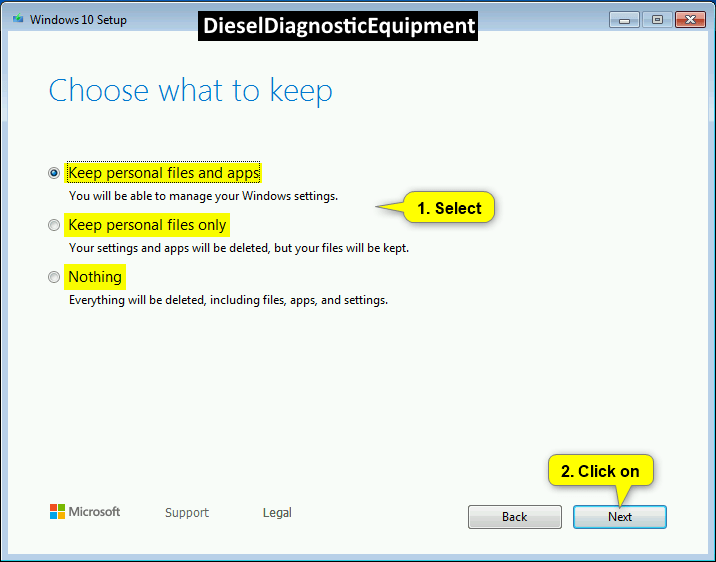
We’ve grabbed this helpful tutorial that will walk you through the process of upgrading your Windows 7 laptop to Windows 10. It’s not too hard, but it’s not easy either. It’ll take a bit of time and there are some risks of data loss if your computer isn’t backed up properly.
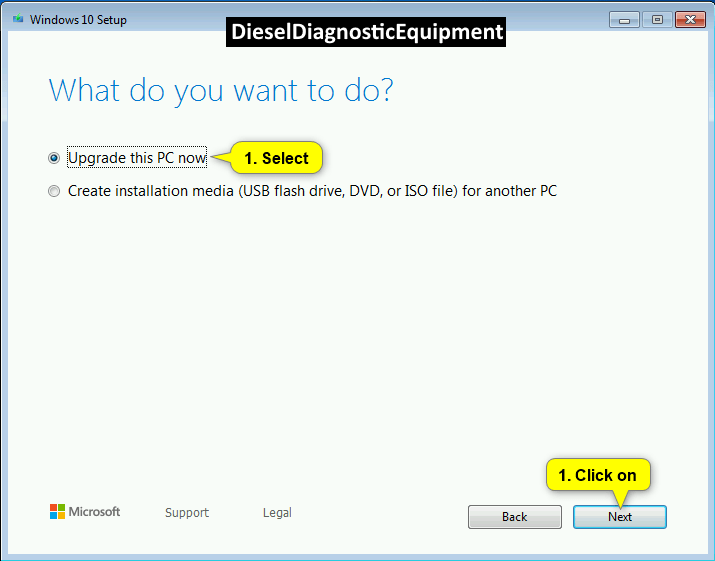
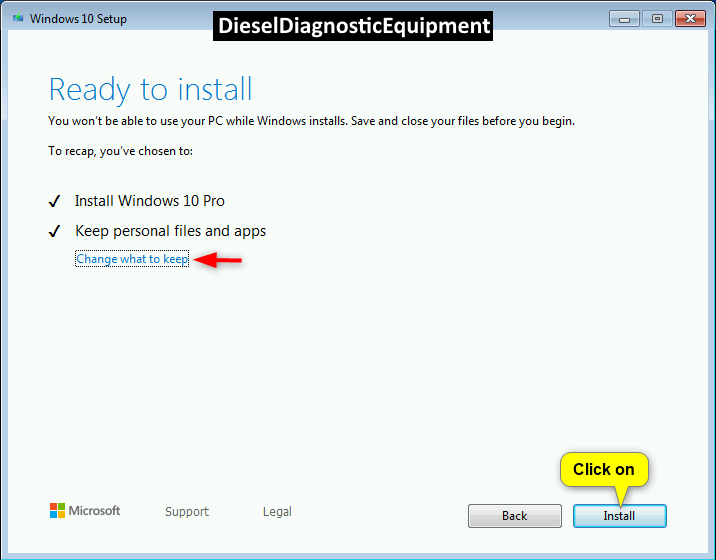
Click on the Download button below to go to Microsoft’s Download Windows 10 site, and click/tap on the Download tool now button at the site under Create Windows 10 installation media. (see screenshot below)


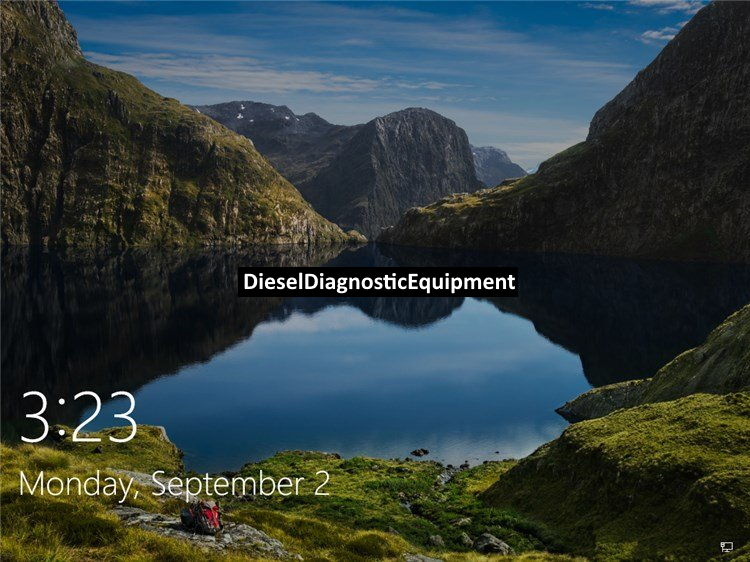
Dismiss the lock screen by performing one of the following actions below. (see screenshot below)
- Press the Ctrl+Alt+Delete keys if secure sign-in is enabled.
- Press any key on the keyboard.
- Click on the lock screen.
- Tap on the lock screen if you have a touchscreen.
- Swipe up on the lock screen if you have a touchscreen.
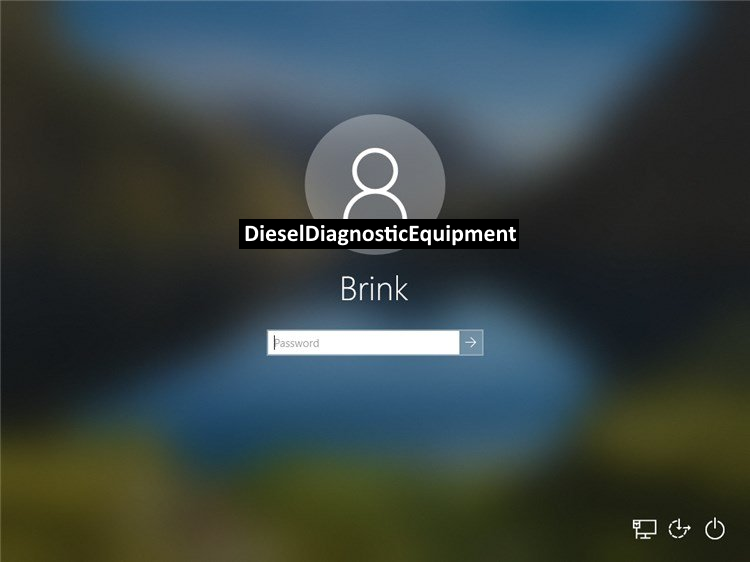
Sign in to Windows 10 with your account. (see screenshot below)
You will now be at your desktop for your account in Windows 10. (see screenshot below)
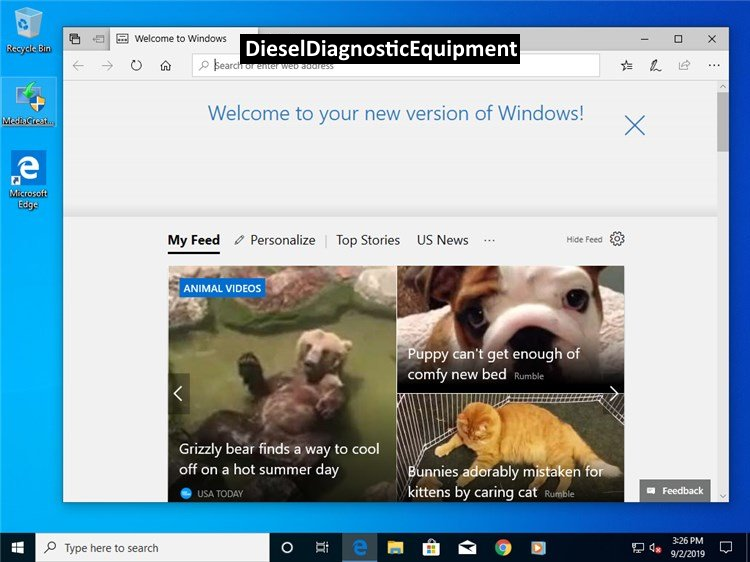
Congratulations, you have successfully upgraded your computer to Windows 10!
If everything went smoothly, you shouldn’t have lost any data.